
| 일 | 월 | 화 | 수 | 목 | 금 | 토 |
|---|---|---|---|---|---|---|
| 1 | 2 | 3 | 4 | 5 | ||
| 6 | 7 | 8 | 9 | 10 | 11 | 12 |
| 13 | 14 | 15 | 16 | 17 | 18 | 19 |
| 20 | 21 | 22 | 23 | 24 | 25 | 26 |
| 27 | 28 | 29 | 30 |
- hackerrank
- ubuntu
- 데이콘
- Baekjoon
- gs25
- 우분투
- Kaggle
- dacon
- 프로그래머스
- SW Expert Academy
- 파이썬
- github
- Docker
- Real or Not? NLP with Disaster Tweets
- PYTHON
- programmers
- leetcode
- 백준
- 더현대서울 맛집
- AI 경진대회
- 자연어처리
- 편스토랑
- Git
- 캐치카페
- 프로그래머스 파이썬
- 금융문자분석경진대회
- ChatGPT
- 편스토랑 우승상품
- 맥북
- 코로나19
- Today
- Total
솜씨좋은장씨
[Windows]Visual Studio Code 설치하기 본문
1. 설치파일 다운로드 받기
Visual Studio Code - Code Editing. Redefined
Visual Studio Code is a code editor redefined and optimized for building and debugging modern web and cloud applications. Visual Studio Code is free and available on your favorite platform - Linux, macOS, and Windows.
code.visualstudio.com
Visual Studio Code 홈페이지로 이동합니다.

우측 상단의 Download 버튼을 눌러 다운로드 페이지로 이동합니다.
가장 왼쪽 Windows 다운로드 목록 중에서 System Installer의 64bit와 32bit 중에서 하나를 골라 다운로드 받습니다.
본인의 컴퓨터가 32bit인지 64bit인지 모를때는 아래 글을 참고해주시기 바랍니다.
https://somjang.tistory.com/entry/Windows-10-내-컴퓨터가-32bit인지-64bit인지-확인하는-방법
[Windows 10] 내 컴퓨터가 32bit인지 64bit인지 확인하는 방법
1. 먼저 새 탐색기 창을 하나 열어서 내 PC로 이동합니다. 2. 왼쪽 배너 내 PC 아이콘 또는 빈 공간에 오른쪽 마우스를 클릭하고 속성을 눌러 줍니다. 3. 시스템 항목 안에있는 시스템 종류를 확인합니다.
somjang.tistory.com
다운로드가 완료되었습니다.
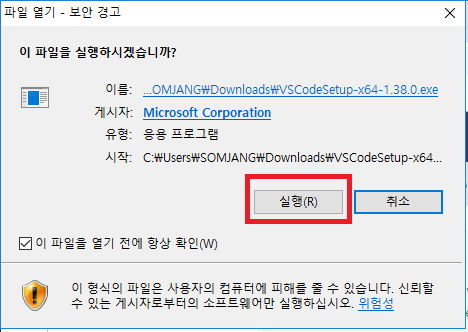
2. 설치하기
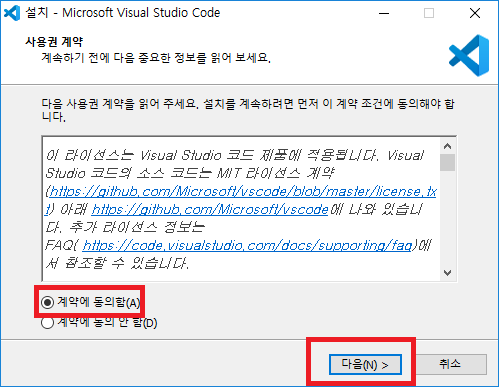
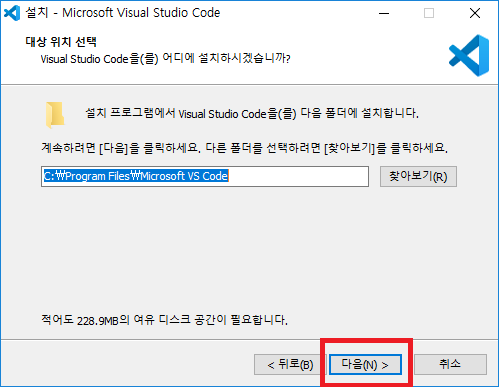
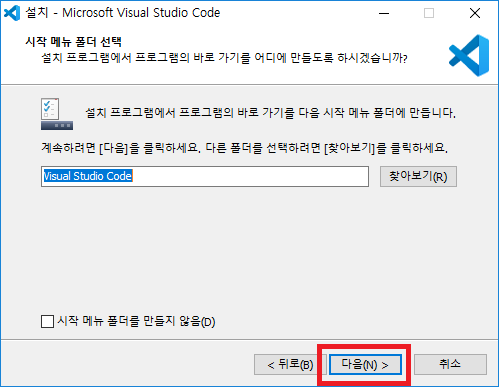
다운로드 받은 파일을 실행하여 줍니다.
모든 항목에 체크해주어 추후 환경변수 설정 작업을 하지 않아도 사용할 수 있도록 해줍니다.
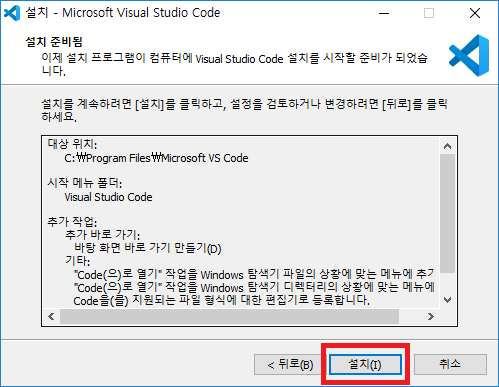
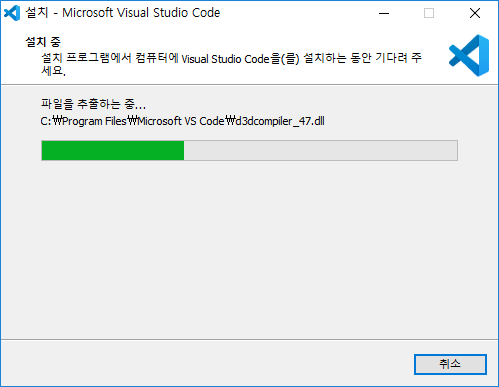
설치 끝!
'유용한 정보 > Windows' 카테고리의 다른 글
| [Windows]환경변수 설정 페이지 접근 방법 (2) | 2019.09.13 |
|---|---|
| [Windows]Mongodb설치하고 환경변수 설정하기(ver 4.2.0) (6) | 2019.09.13 |
| [Windows]Oracle VM VirtualBox설치하기(ver 5.2.32) (0) | 2019.09.07 |
| [Windows 10] 내 컴퓨터가 32bit인지 64bit인지 확인하는 방법 (0) | 2019.09.07 |
| [Windows10]SQLite3 설치하기! (0) | 2019.09.07 |


